Week two: Create a fake lake
That summer camp experience of splashing in a lake with new friends? Probably not going to happen. Instead, inspire at-home campers to build their own mini-lake.
MAKE YOUR OWN LAKE
Life skill: Creativity
Step 1: Create the scenery
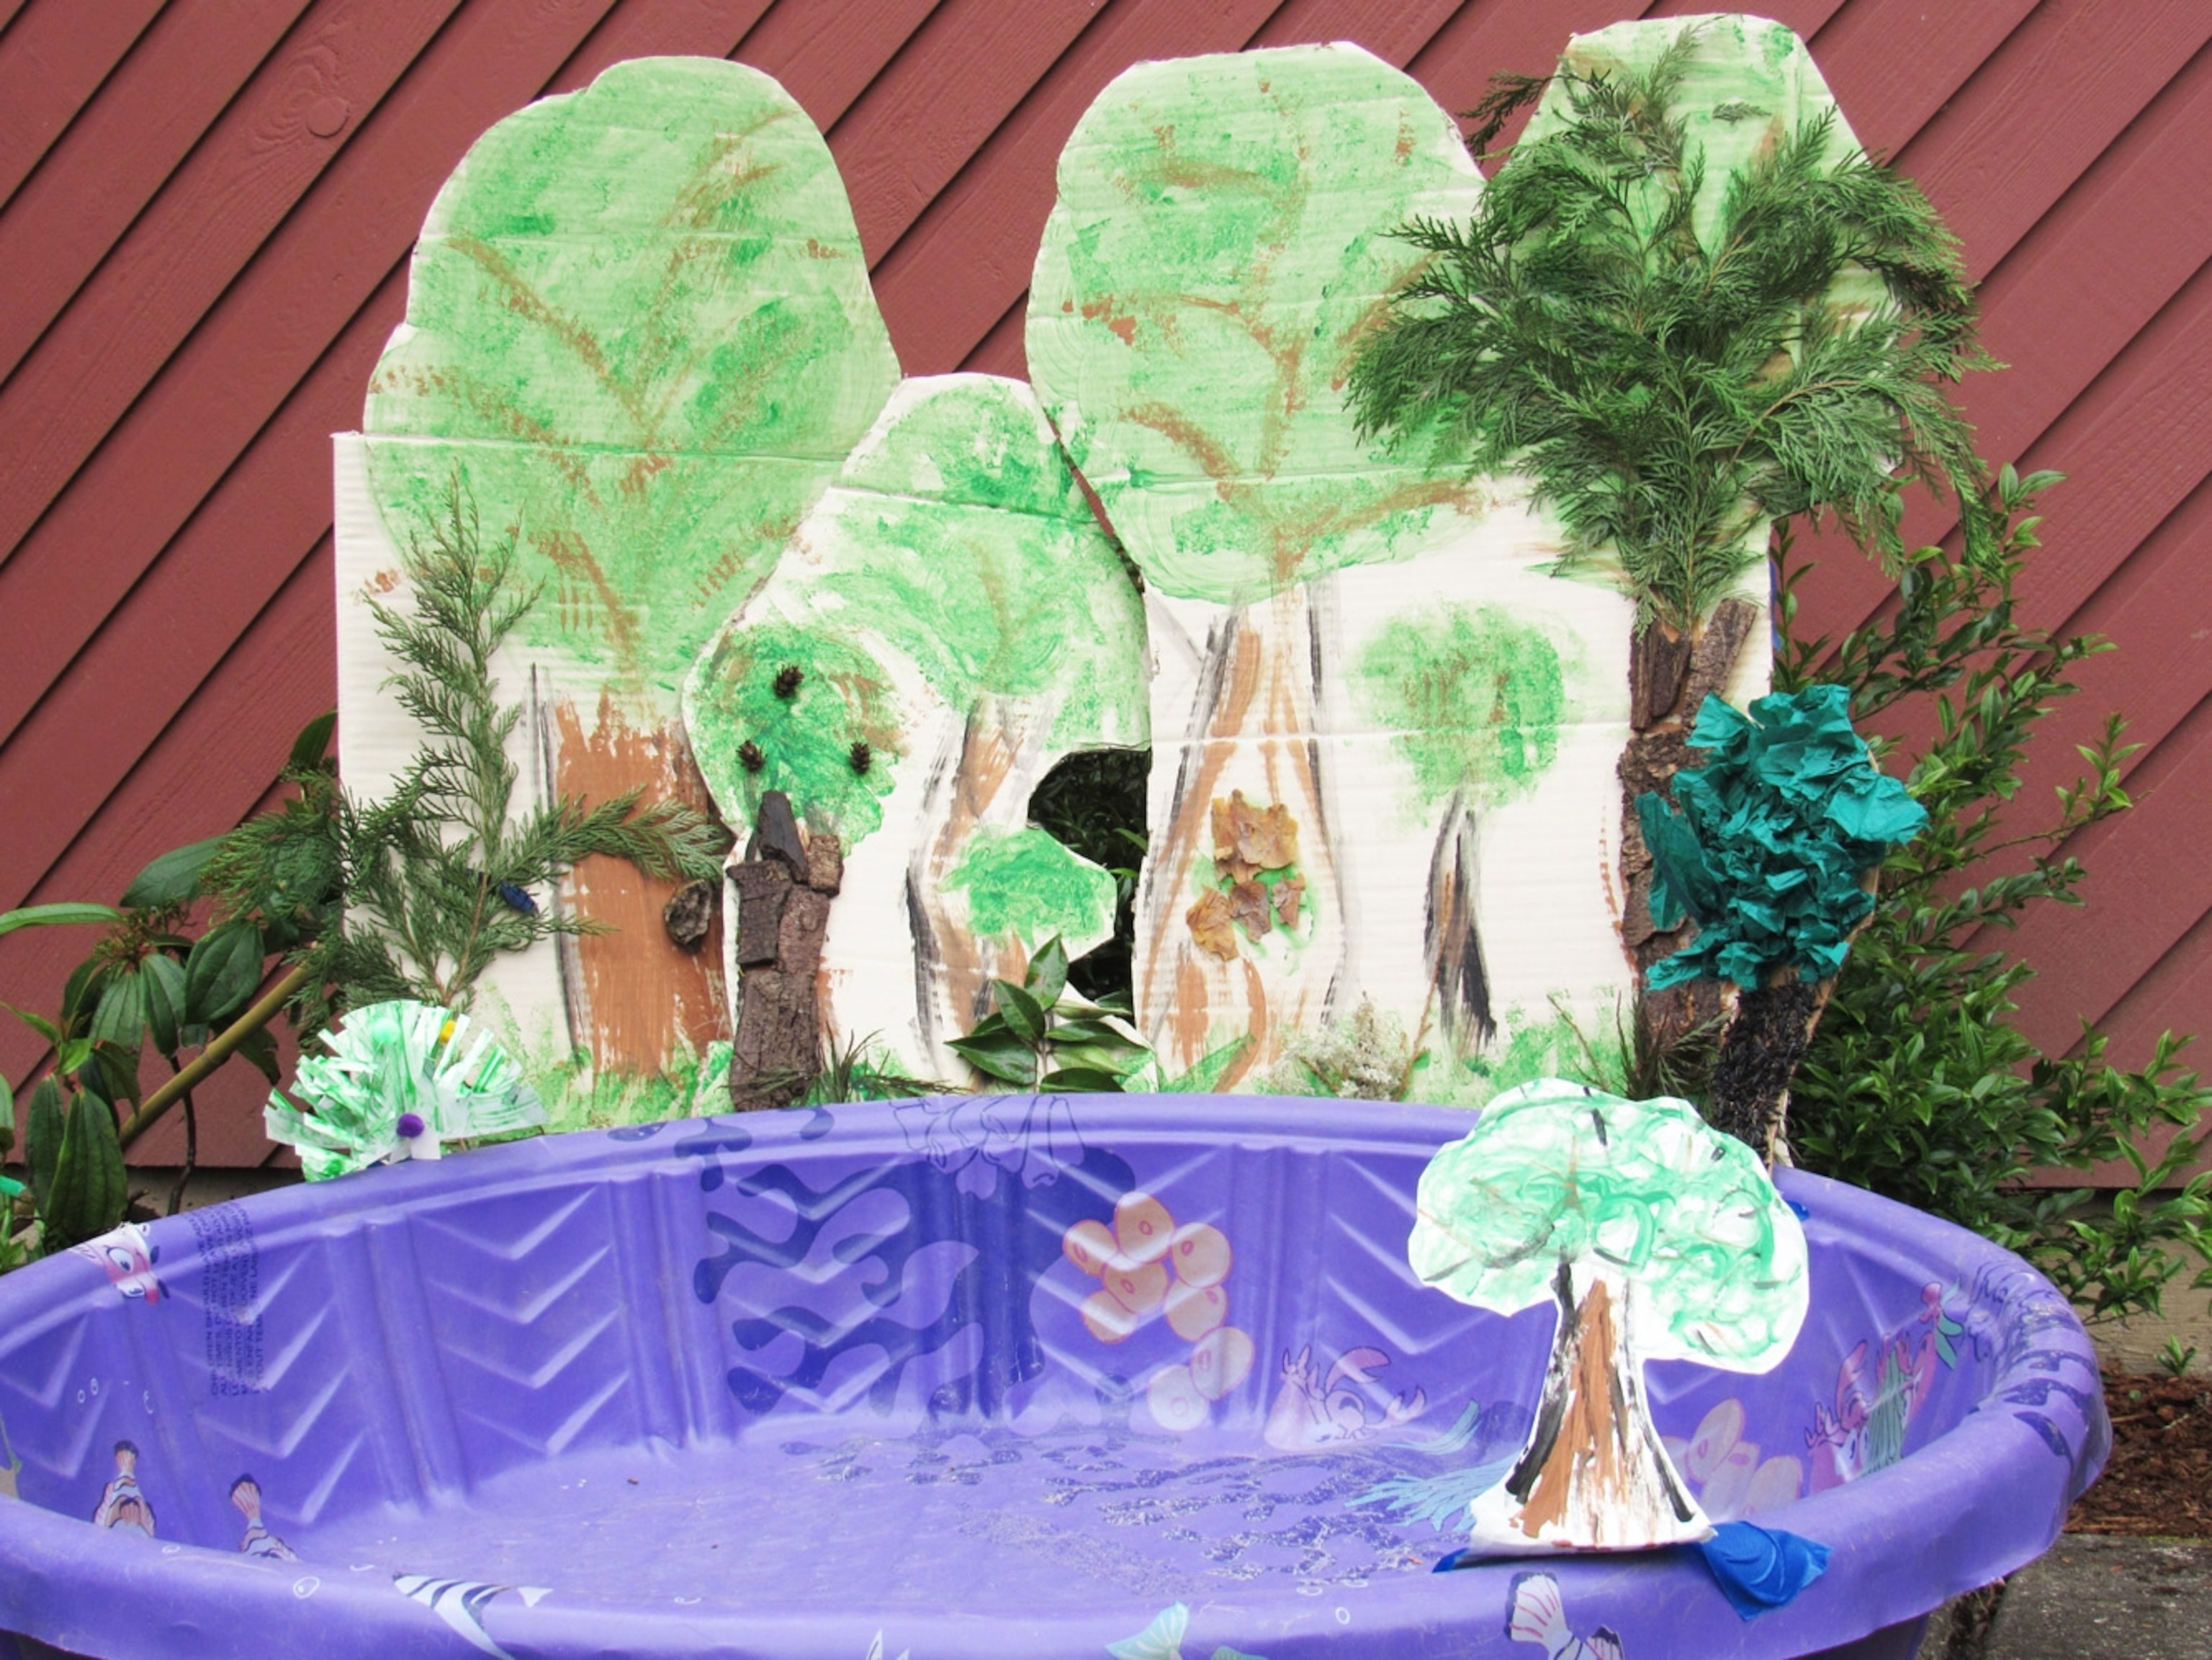
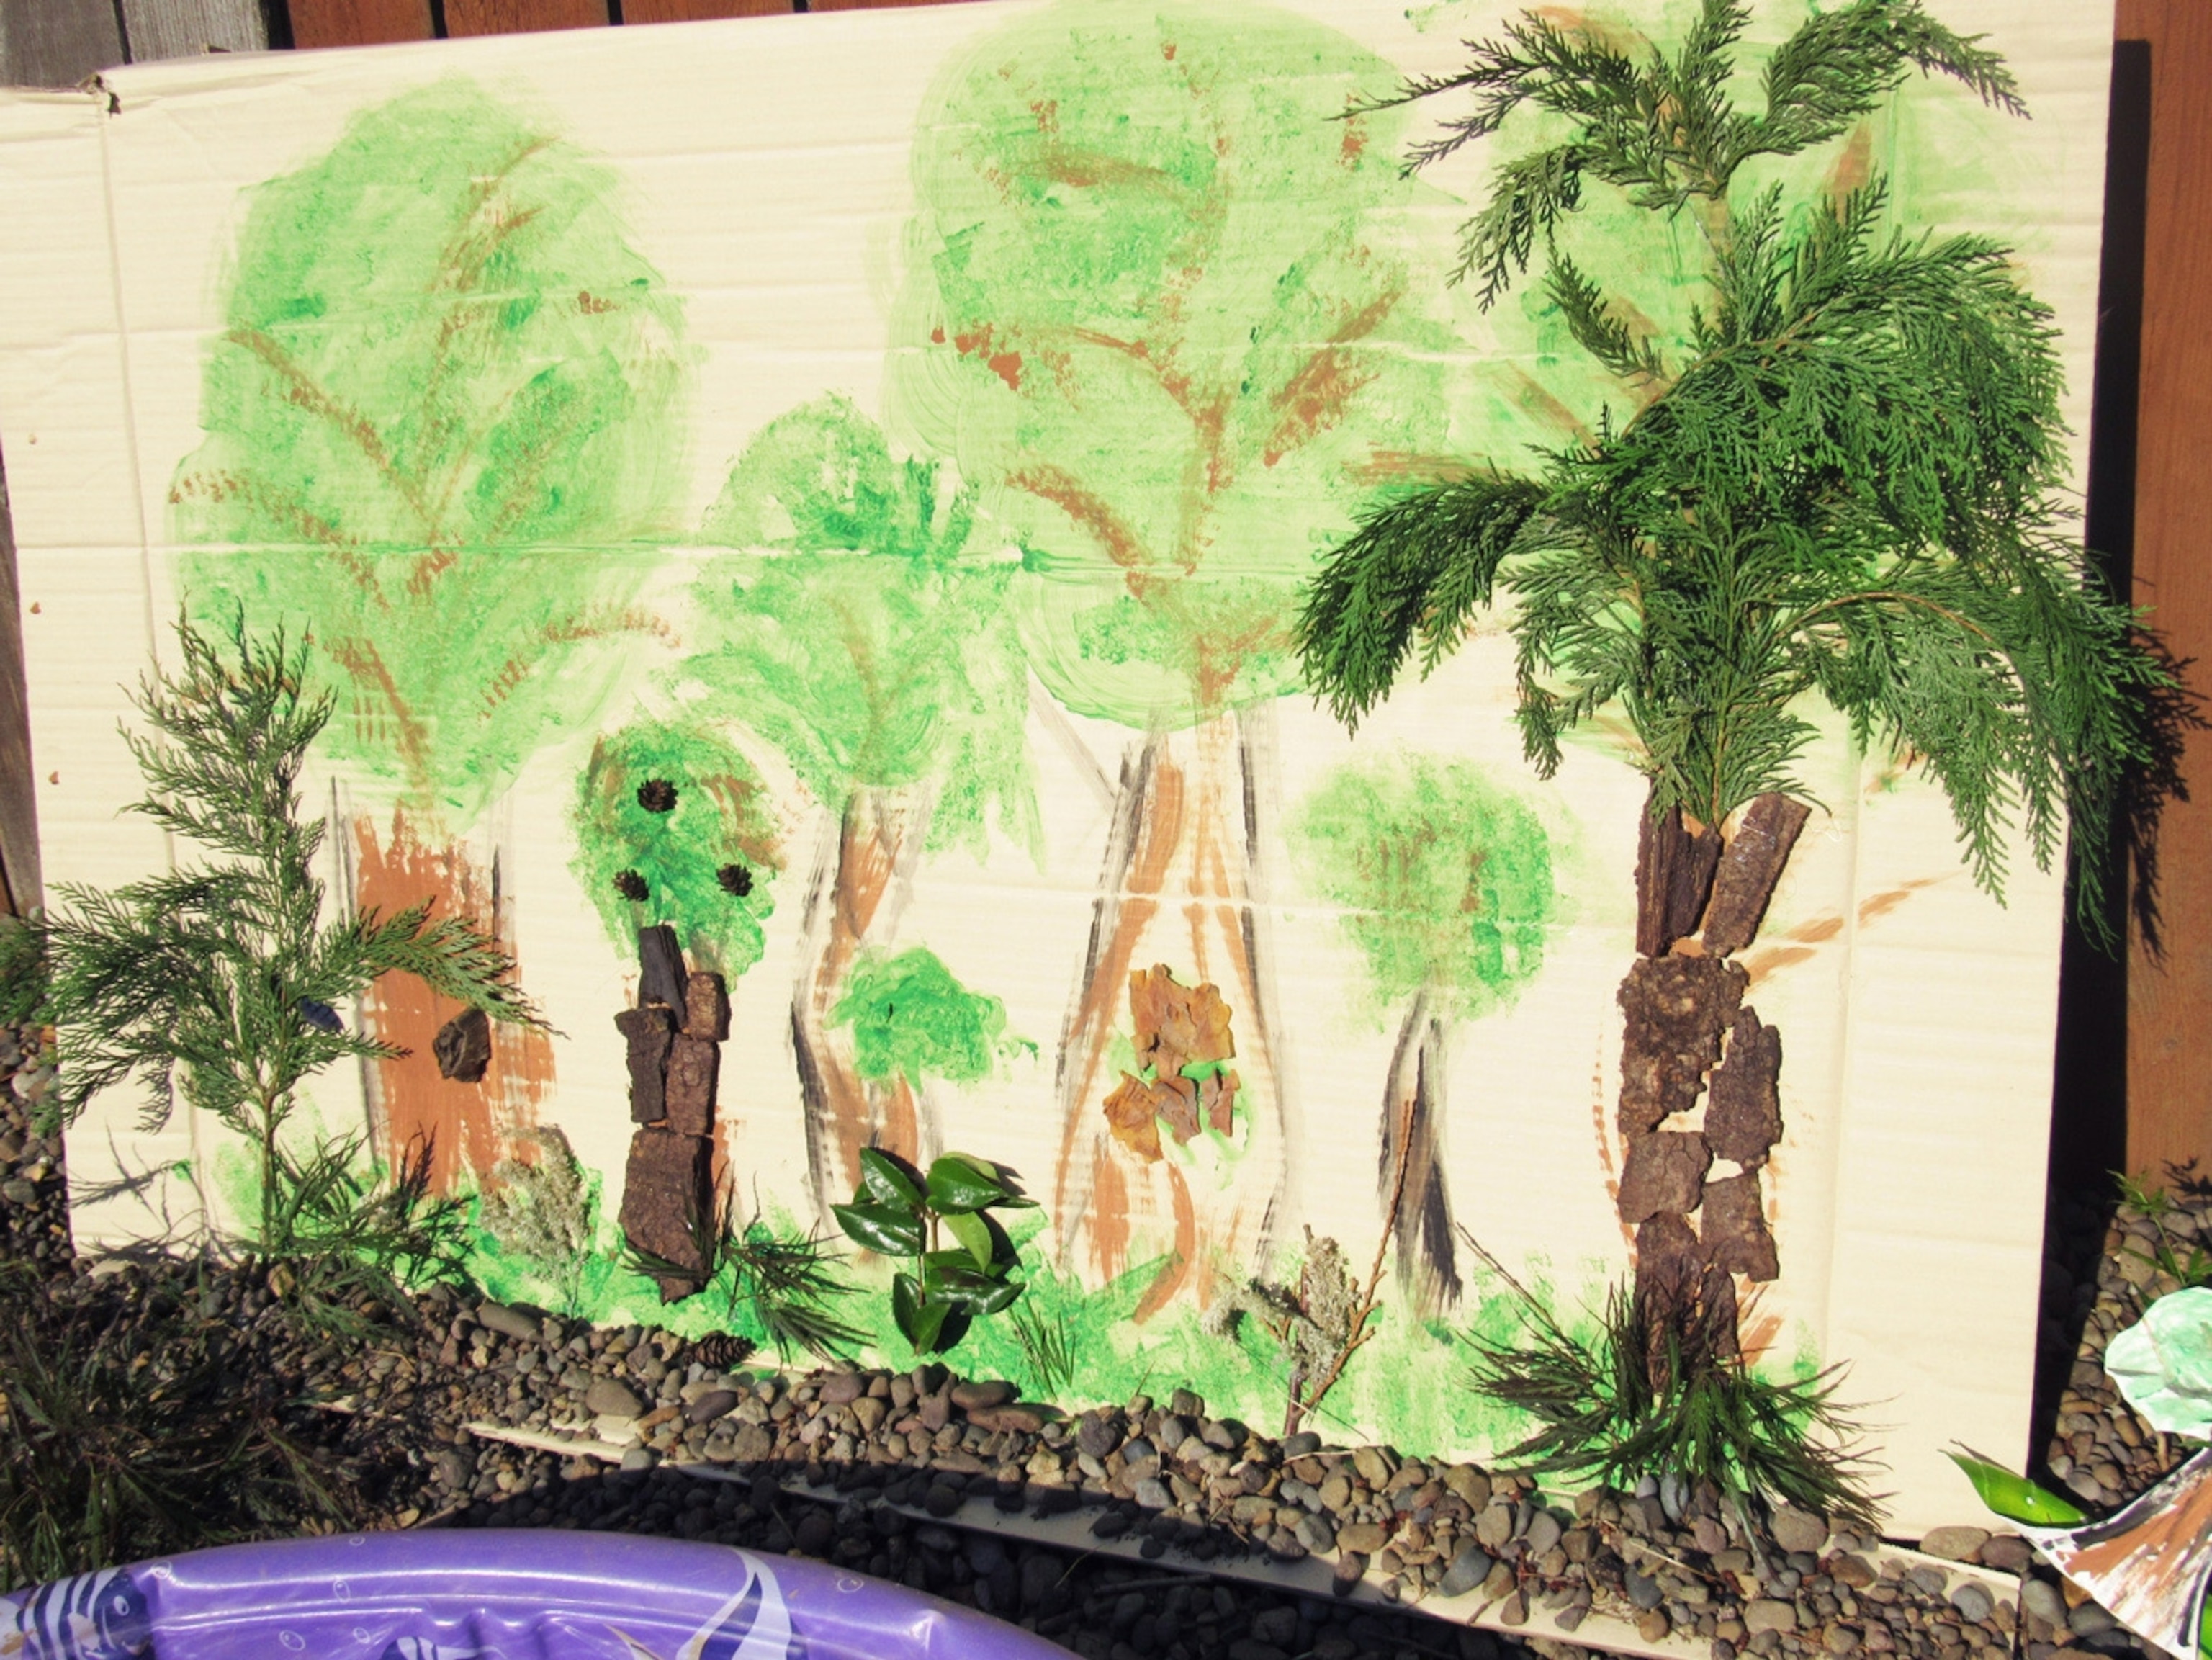
—For a simple craft, kids can draw or paint trees, bushes, and flowers onto cardboard, then cut them out. (We know you’ve probably got plenty of boxes lying around from all that online shopping!) Add dimension to your view by making different size trees and plants and gluing them in front or behind each other, using cardboard as a base.
Craftier kids can try these ideas:
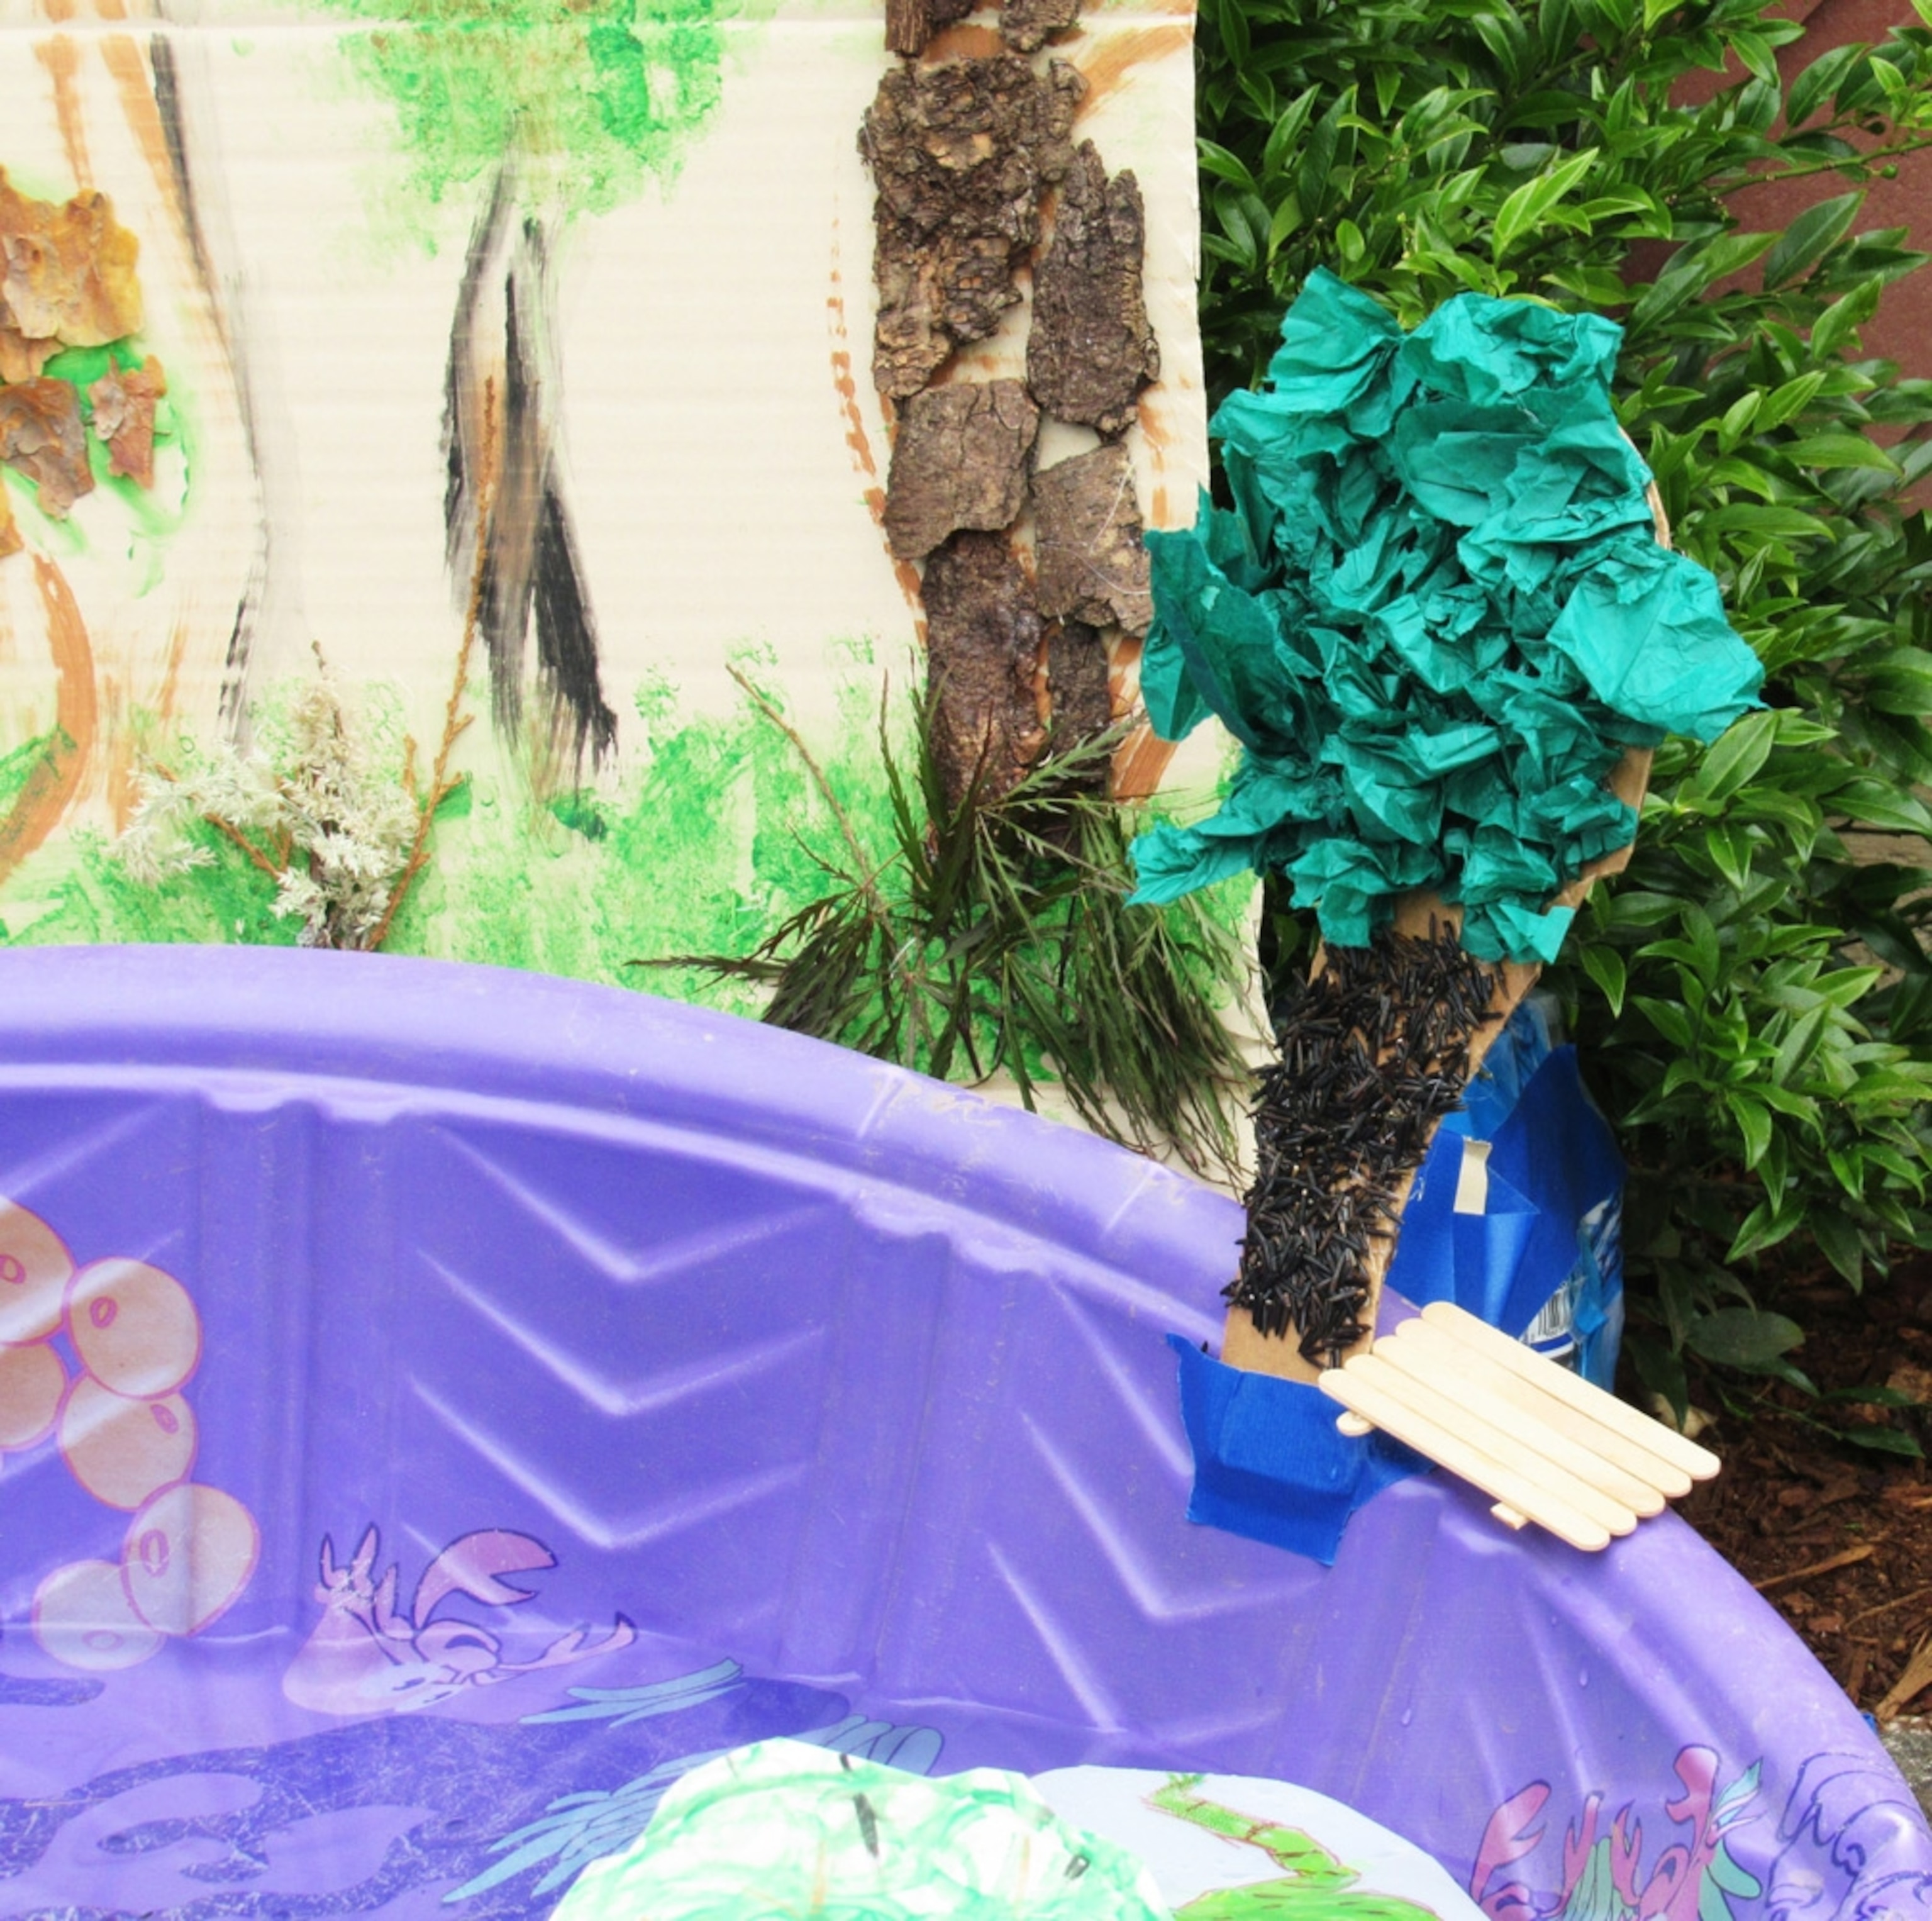
• Add some realness by gluing found items like leaves, bark, pinecones, and twigs to the designs.
• Wad up small pieces of colored tissue paper and glue to cardboard trees or bushes to add dimension.
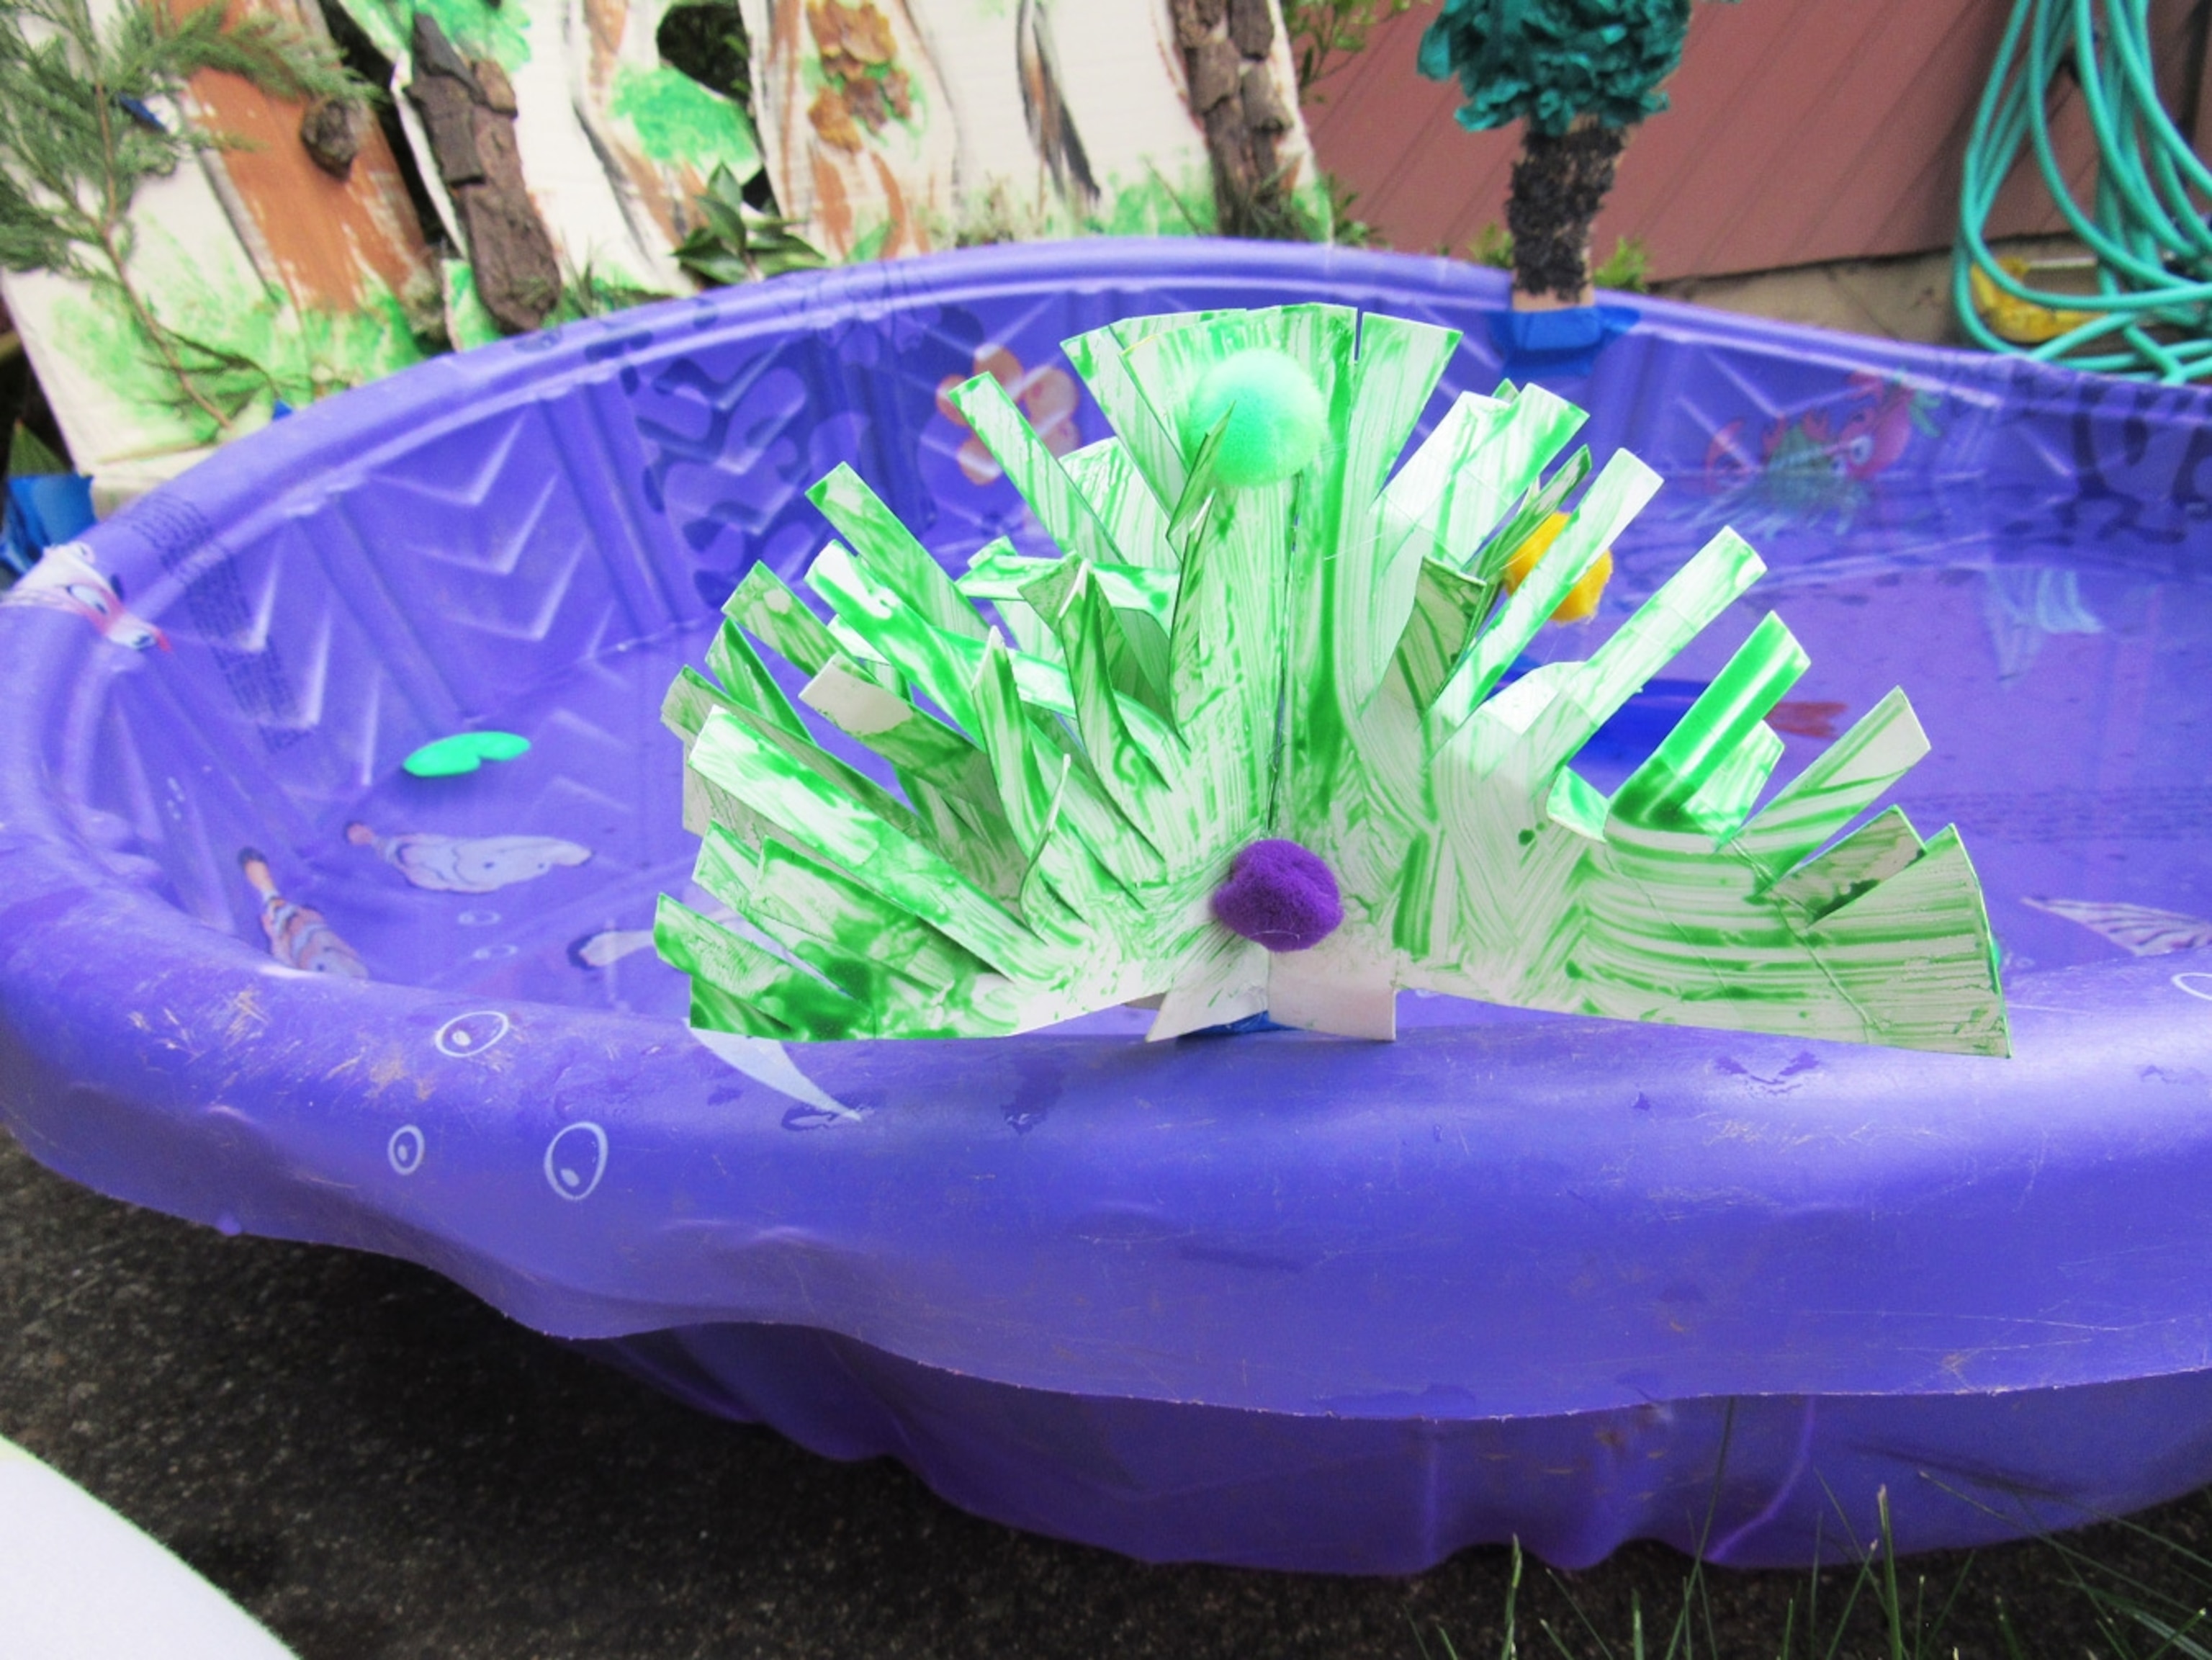
• Glue petals, pom poms, or other colorful items to create flowers or birds.
• Tie two pieces of twine or yarn to a twig or popsicle stick to make a swing to hang from one of the cardboard trees.
• Create flowers by twisting green pipe cleaners around chopsticks, then use a different color pipe cleaner to make petals.
• Color and cut out a flying bird or butterfly, poking a hole in the top. Thread a long piece of twine, yarn, or fishing line through the hole, then hang between two cardboard trees.
Step 2: Make your lake life
—Gather clean plastic water bottles, milk jugs, takeout containers, and plastic lids and caps. (These will turn into your underwater world.) Have kids experiment with how they float and sink in water. For instance, they’ll see that an empty bottle will float on top, a totally full bottle will sink, and a half-filled bottle will float somewhere in between. Experiment on caps and lids as well. And what happens if you place heavy items like gravel or rocks into the containers?
—Have kids use their imaginations and think about which critters and plants the shapes of the containers remind them of. For instance:
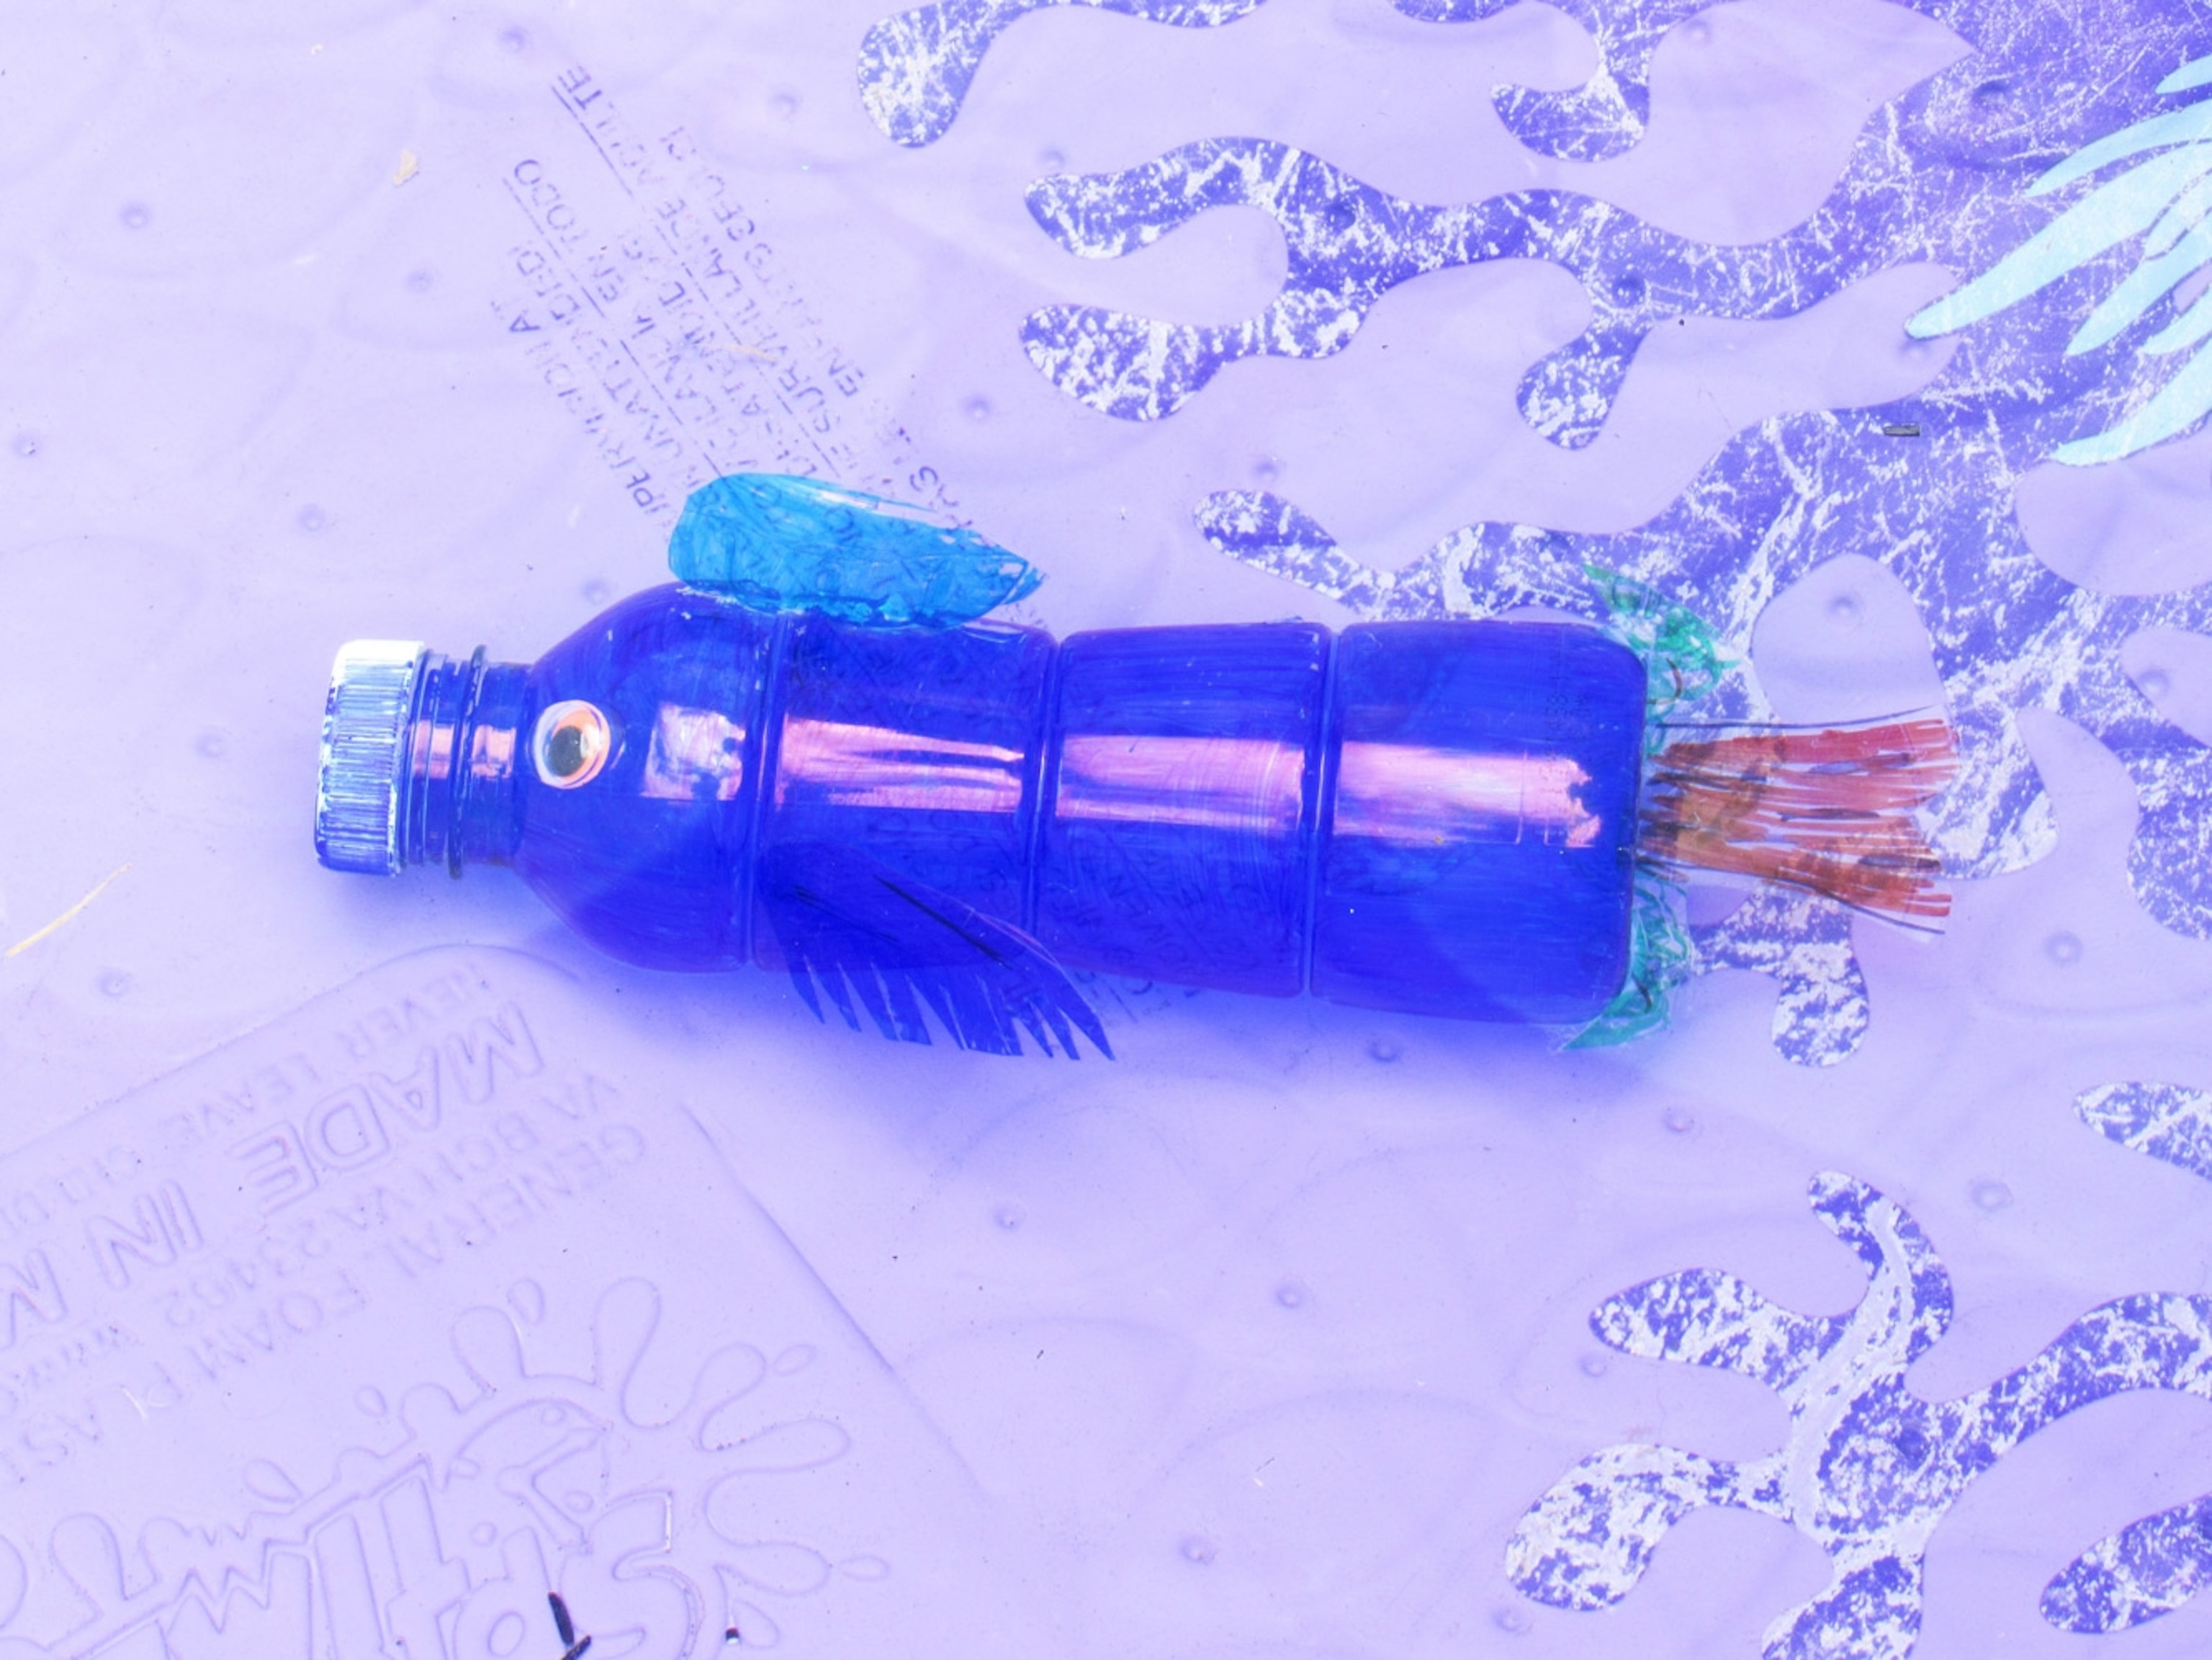
• A soda bottle on its side could be a fish.
• A water bottle standing up could be underwater grass.
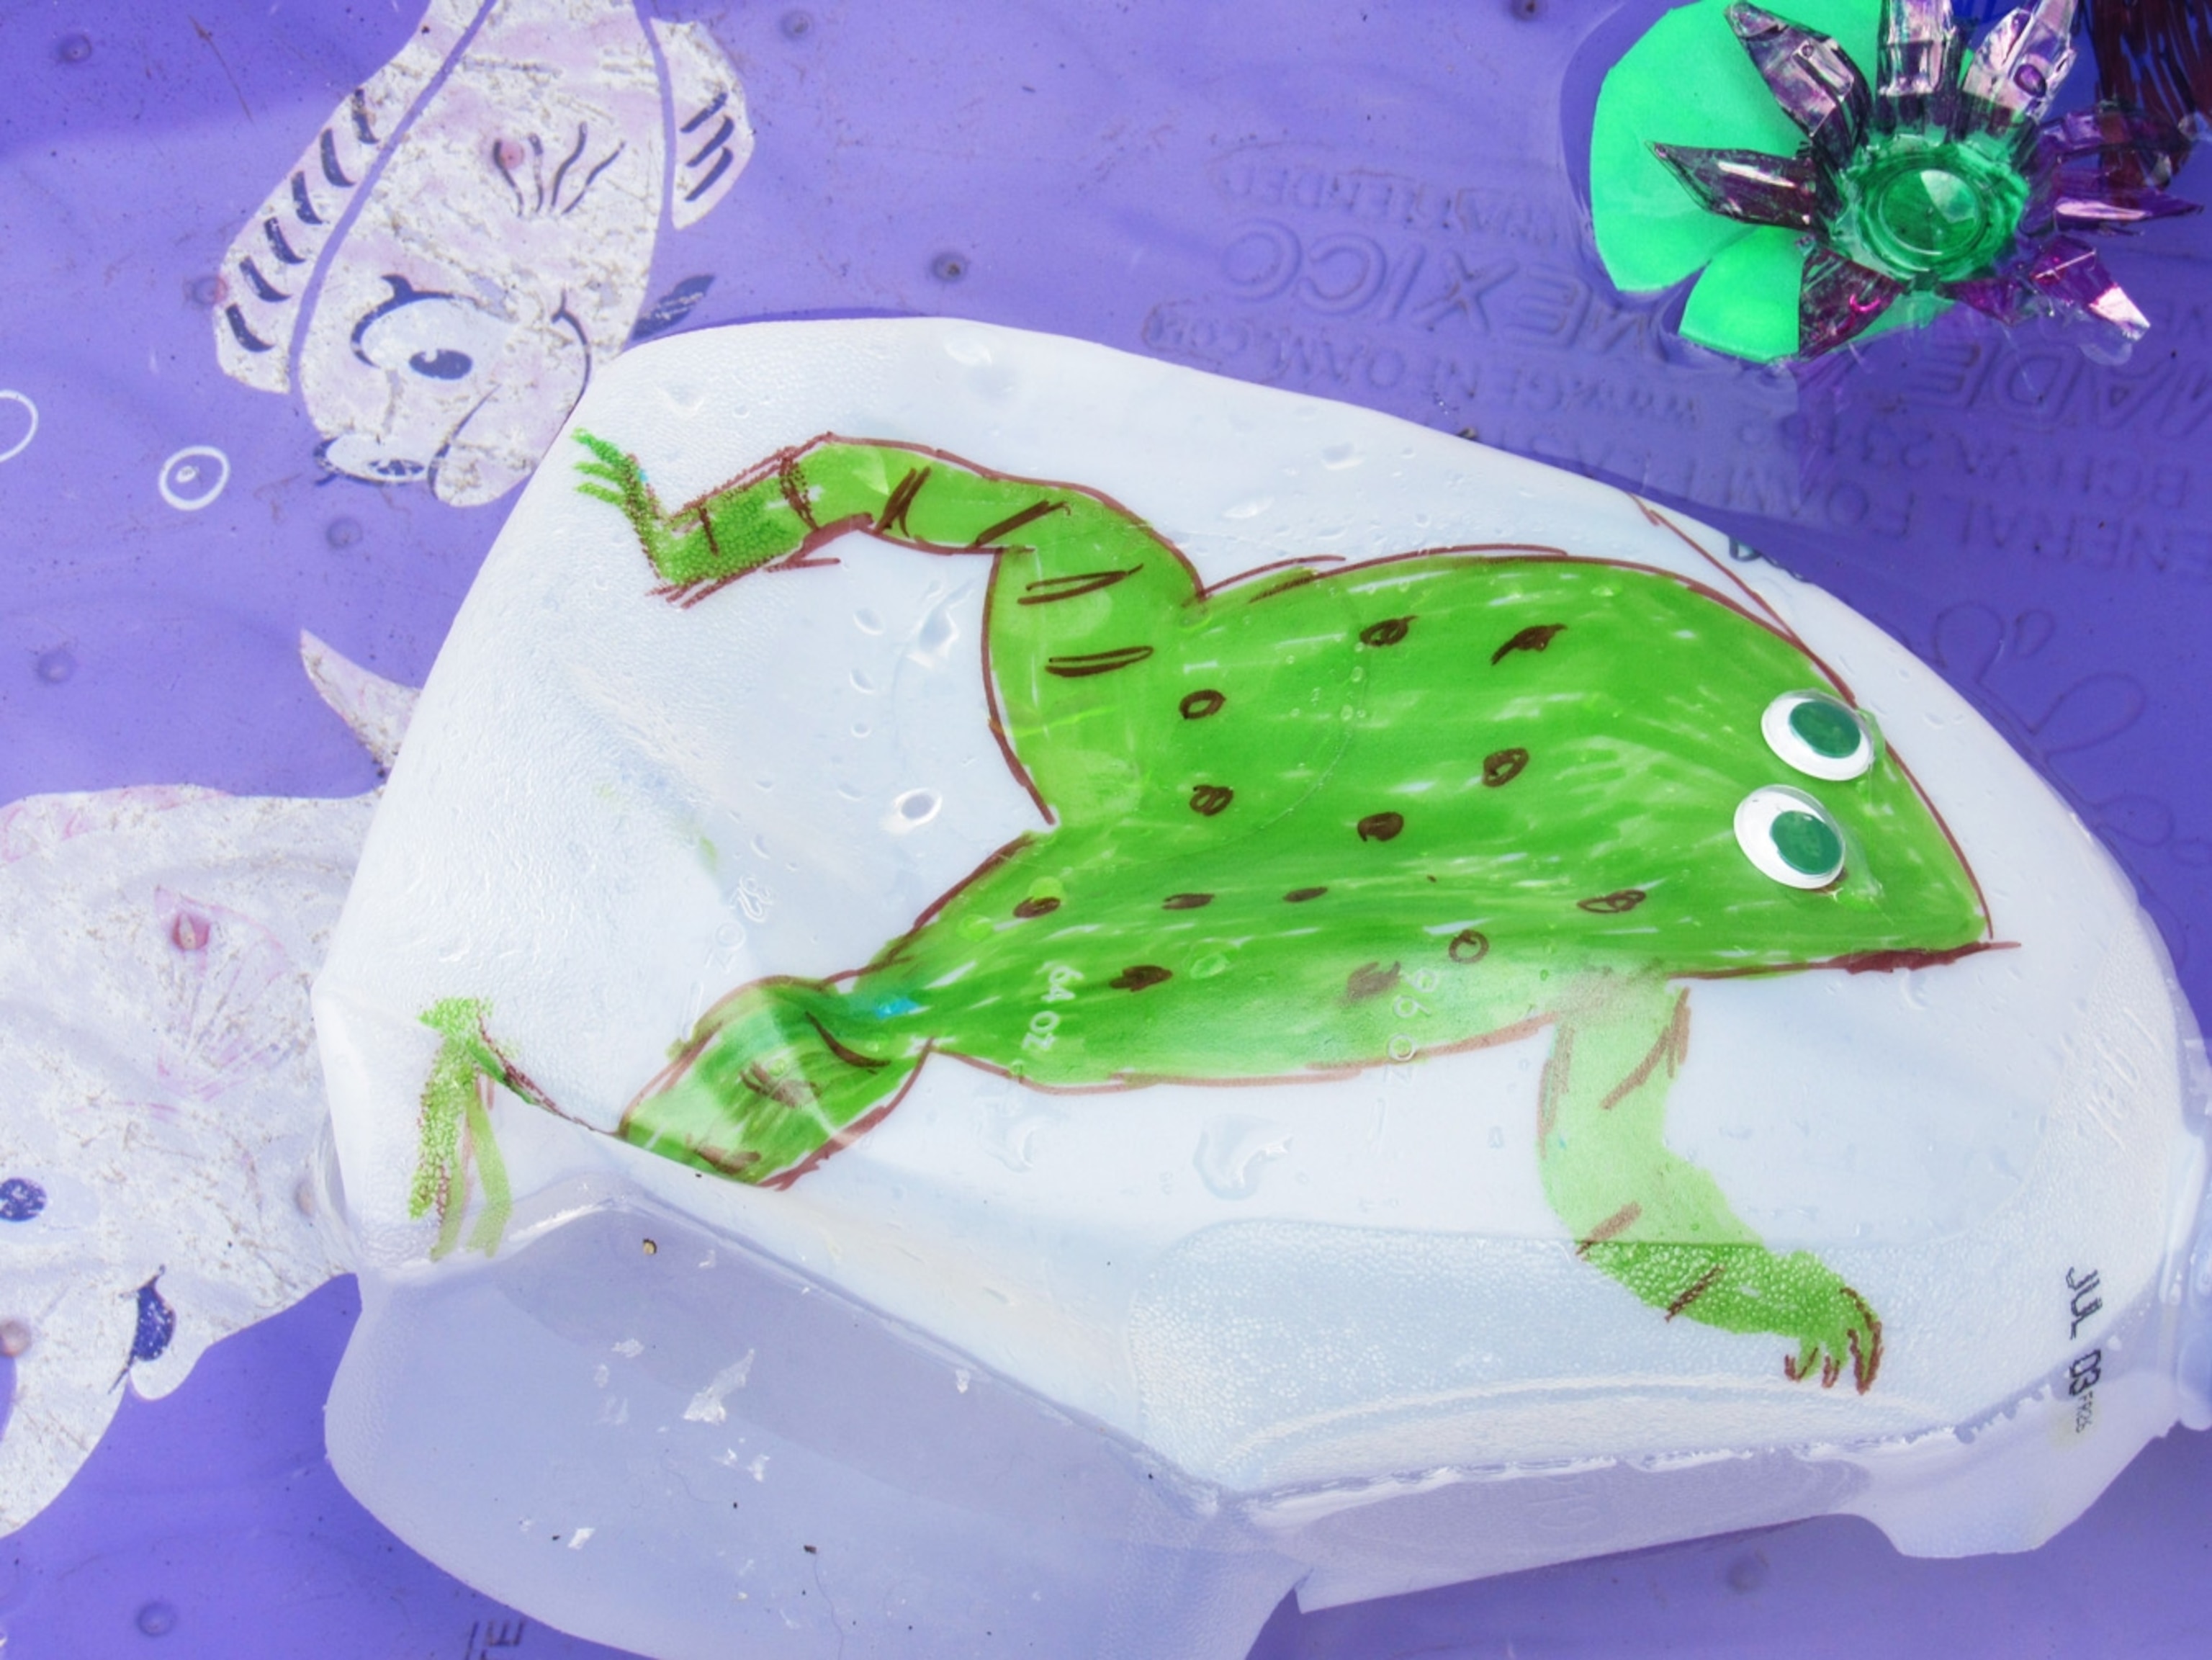
• A milk jug on its side could be a shark. (We know sharks don’t live in lakes—we’re just being creative!)
• A takeout lid could be a lily pad.
• A bottle cap could be a pebble. (Learn how to make rock art.)
—Use permanent markers to draw plants or animals onto the containers. Depending on the container, the darker or more solid you color, the better the colors show underwater.
—Craftier kids can add features to their creations, or even do some adult-supervised cutting-and-pasting. For example:
• Glue googly eyes on water critters.
• Attach green pipe cleaners inside water bottle “grass.”
• Attach pipe cleaners to the front of a fish to make it a catfish.
• Make lily pad flowers by coloring a flat lid. Cut the petals leaving the center uncut. Then bend petals up to make a flower.
• Glue together multiple lid lily pads.
• Cut a sponge or craft foam into the shape of a floating turtle. Color the bottom of a water bottle or a bottlecap like a shell, then glue to the sponge or foam.
• Use pipe cleaners to make feet and turn a bottle into an alligator.
• To make a fish with a tail, cut off the bottom of a plastic bottle and flatten the cut end. Trim into the shape of a fish’s tail, and cinch with twine or pipe cleaner to hold the shape.
• String colorful bottlecaps together to make a snake. Use a small plastic ball as its head.
Step 3: Build the lake
— Place a kiddie pool on the grass, sidewalk, or somewhere you won’t mind getting wet, and fill it with water.
—Tape the scenery to the outside of the pool, or attach it to things like lawn chairs or fences.
—Have kids arrange the creatures in the water.
—Finish the lake with a small flag or welcome sign with your camp logo.
For extra fun, check out this underwater scope kids can make to view their new watery world, or this DIY paper sailboat.
