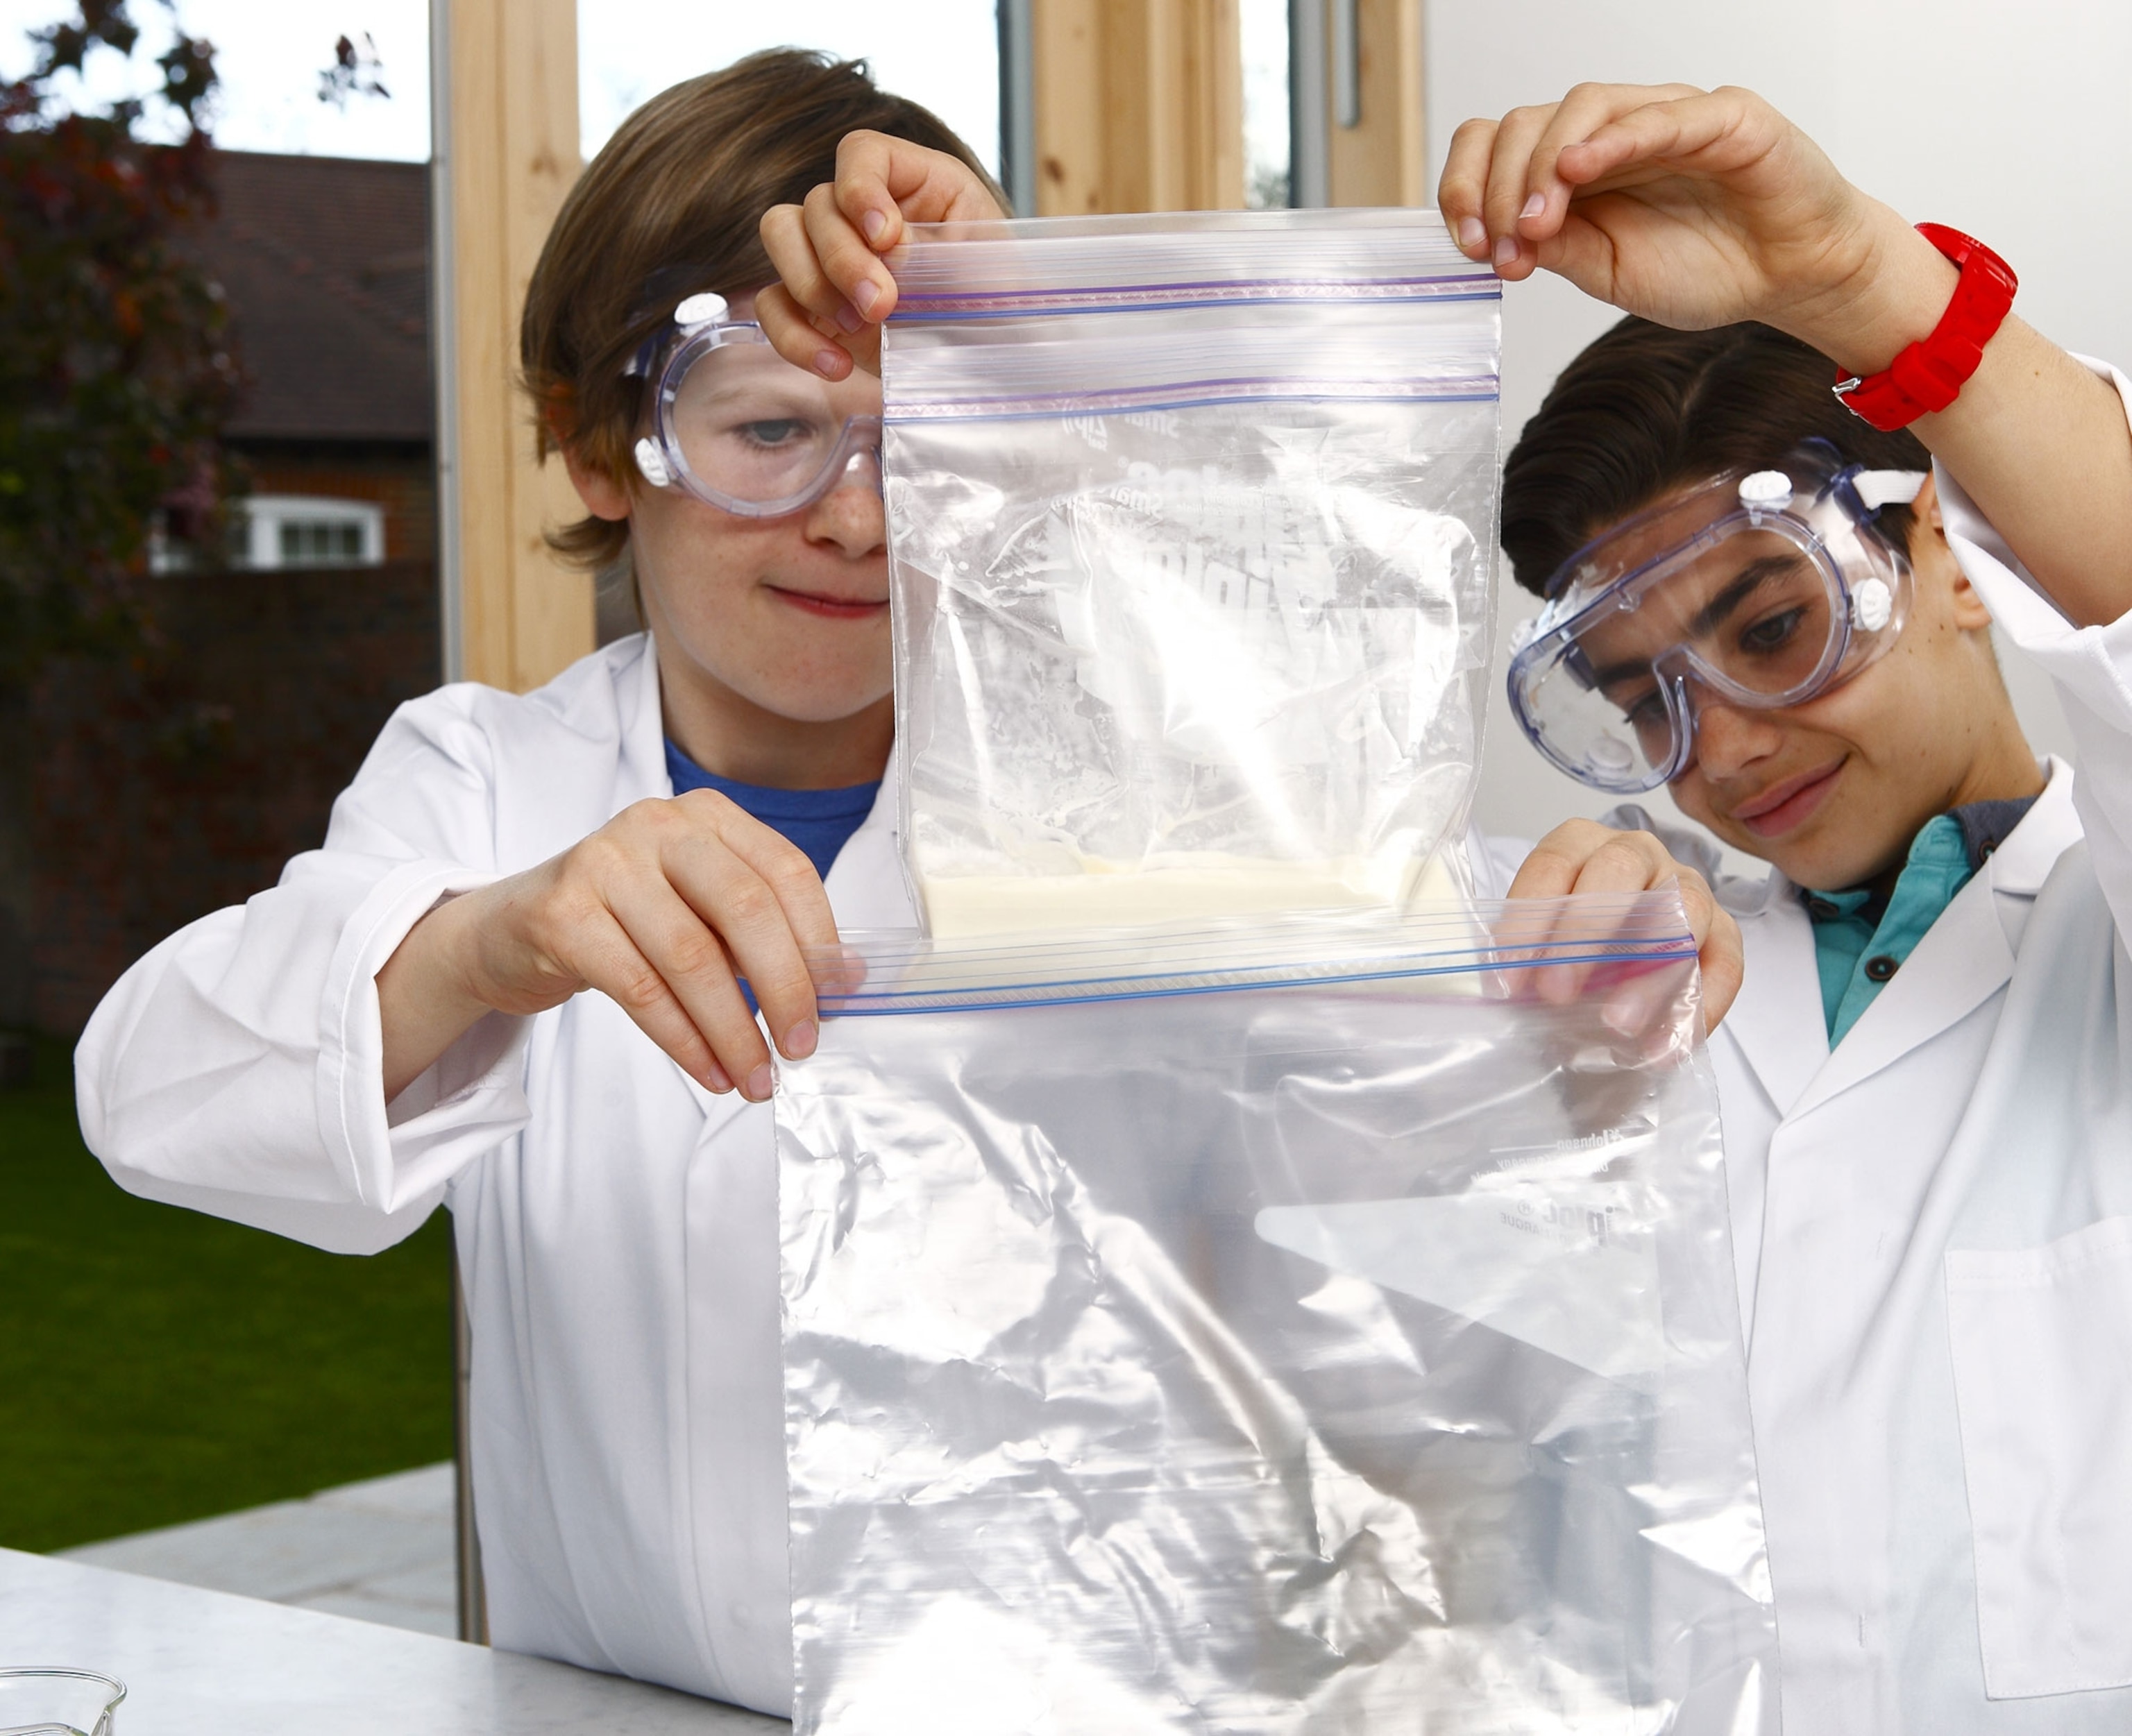
Week five: Make ice cream in a bag
Summer camp snacks sometimes make kids think they’ve pulled one over on parents! Keep fostering that independent feeling by letting them make their own ice cream at home.
Life Skill: Independence
Step 1: Mix the ingredients.
—In a one quart-size plastic zipper bag, add:
• 1/4 cup heavy cream
• 1/4 cup whole milk
• 1/2 teaspoon vanilla extract
• 1 tablespoon sugar
—Remove the air from the bag by gently pushing it out the top, then seal the bag. Check that it’s zipped up tight.
—Place the bag with the ice cream mixture inside a second quart-size plastic zipper bag. Remove the air from the bag, then zip it shut. The second bag helps prevent any leaks while churning the ice cream.
Step 2: Create the ice cream maker.

—In a one gallon-size plastic zipper bag, add:
• 4 cups of crushed ice
• 4 tablespoons of rock (ice cream) salt. (You can also use kosher or table salt.) The salt lowers the temperature of the ice and helps the ice cream freeze better.
—Slide the ice cream mixture bag into the center of the ice.
—Press out all the air, then zip the bag shut.
Step 3: Churn the ice cream.

—Wrap the large bag in a dish towel.
—Shake and wiggle the bag. Keep the ice cream mixture surrounded by the ice as you churn, and keep it moving to help the mixture stay smooth and creamy as it freezes.
—After about 5 to 8 minutes, check to see if it’s ready by opening the bag of ice and gently squeezing the mixture. If it’s still liquid, close the ice bag and churn a few more minutes.
Time to eat!

Remove the bag of ice cream from the bag of ice. Pour the ice cream into a bowl, or grab a spoon and eat it right out of the bag!
This excerpt and other activities are in the book Edible Science: Experiments You Can Eat. Copyright 2015 © The Ivy Press Limited. Adapted for Nat Geo Family Camp by Ruth Musgrave.